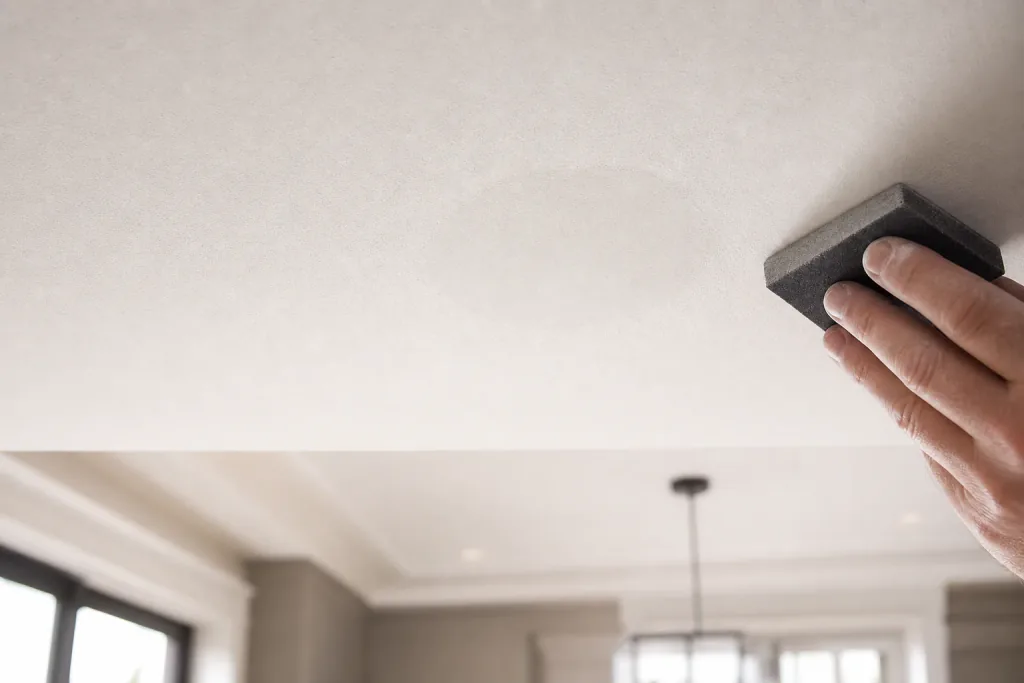

Before any finish coat on new construction, confirm the specified gypsum finish level, prime all drywall per GA-232, verify substrates are dry, lock in site protection and sequencing, review SDSs for every product on site, and document sign-off at each gate. These checks, drawn from GA-214 and GA-232, plus the sequencing used on new-build projects, catch the failures that turn into punch-list fights later.
TL;DR:
- Specify Level 5 for critical lighting or glossy and dark finishes; lower levels suit covered surfaces, garages, and storage areas.
- Prime new gypsum board with at least one coat of high quality latex primer; alkyd primers can react with joint compound and peel.
- Do not accept concrete or masonry as paint ready from appearance alone; check moisture at several locations, document drying, and escalate inconsistent readings.
- Apply most latex primers and paints above 10°C and below roughly 85% humidity; use a test patch and wet film gauge to verify coverage.
- Require written sign offs before priming, between coats, and at final acceptance; photograph readings and defects, and add checks when schedules are compressed.
Table of Contents
- Drywall finish and priming: specify the level, inspect, then prime
- Moisture and substrate readiness: concrete, masonry, and trapped moisture
- Primer and coating selection: compatibility and application basics
- Site protection, masking, sequencing and the new-build painting schedule
- Safety, hazardous-chemical controls, and spray-painting precautions
- Quality control and inspection sign-offs: the on-site painting QA checklist
- Sample timeline and handover: a quick schedule for a typical new-build unit
- Practical lessons from the field on new construction sites
- Sigma Painting: new-construction painting services and how we help
- FAQ
- Sources
Drywall finish and priming: specify the level, inspect, then prime
GA-214 defines five levels of finish, and the level has to be nailed down before a brush touches the wall, not after. Level 5 guidance applies to spaces with critical lighting conditions, glossy or dark paint sheens, or any wall where imperfections will cast shadows, while lower levels suit storage areas, garages, or surfaces that will be covered. Skipping this step is one of the most common sources of callbacks on new builds.

Once the finish level is approved, GA-232 calls for at least one coat of high-quality drywall primer on new gypsum board to equalize surface absorption. Paint applied directly to raw joint compound and paper facing absorbs unevenly, which shows up as flashing, blotchy sheen, or a visibly different texture over patched areas.
Before priming, run these acceptance steps:
- Inspect every seam and fastener head under raking light for visible ridges or depressions.
- Confirm skim coats and spot repairs are fully cured and sanded flush.
- Wipe down dust and sanding residue so the primer bonds to a clean surface.
- Document sign-off on finish level and repair completion before primer goes on.
Moisture and substrate readiness: concrete, masonry, and trapped moisture
A wall can look dry and still fail a coating. Research on moisture transport in building envelope materials shows that moisture trapped in concrete or masonry can migrate to the surface over time, breaking the coating bond long after the paint crew has left the site. Surface-dry does not mean substrate-dry, especially on slab-on-grade concrete, block walls, or stucco poured during cooler, wetter months.
Practical acceptance checks on site should include:
- A visual scan for efflorescence, discoloration, or damp patches on concrete and masonry.
- Spot checks with a moisture meter at multiple locations, not just one convenient spot.
- A documented drying period the general contractor signs off on before coating begins.
- Escalation to a hygrothermal assessment when readings are inconsistent or the substrate history is unclear.
Pro Tip: Photograph moisture meter readings with a timestamp and keep them in the project file; they become the record that protects everyone if a coating failure shows up months later.
The same NRC research notes that effective moisture management often requires understanding beyond a simple surface test, so when readings are borderline, documenting the risk and looping in a building-envelope specialist costs far less than repainting a unit.
Primer and coating selection: compatibility and application basics
Primer choice is where a lot of new construction jobs go wrong before the first finish coat ever gets applied. Alkyd-based primers used as the first coat over new gypsum board can trigger saponification, a chemical reaction between the alkyd resin and alkaline residue in joint compound that causes soft, tacky, or peeling film. A high-quality latex drywall primer meeting GA-232’s minimum dry film thickness guidance avoids that failure mode entirely.
Concrete and masonry need a different approach:
- Use alkali-resistant primers on fresh concrete or block, since standard primers can break down under high pH.
- Choose moisture-tolerant formulations for below-grade or exterior masonry exposed to weather during construction.
- Add a specialty sealer where efflorescence has already appeared, rather than painting over it.
On application, spray gives faster coverage and a more uniform film on large open areas, while rolling offers better control around trim and corners. Most latex primers and paints need ambient temperatures above 10°C and humidity below roughly 85% to cure properly, and a wet-film gauge on a test patch is a quick way to confirm coverage before committing to a full room.
Site protection, masking, sequencing and the new-build painting schedule
Painting lands near the end of the trade sequence, and getting the order wrong creates rework that eats the schedule. A workable sequence for most new-build finishes:
- Confirm final trades (electrical, plumbing, drywall) are complete and signed off.
- Establish dust control and run HVAC systems to stabilize temperature and humidity.
- Complete a final clean of the space before any primer goes on.
- Apply primer and allow full cure time per the manufacturer’s data sheet.
- Apply finish coats in the sequence specified by the project schedule.
- Walk the unit for touchups under final lighting before handover.
Protection measures that prevent damage and contamination include floor covers in all traffic paths, taped masking around millwork and fixtures, and a debris management plan that keeps sanding dust away from wet paint in adjacent units.
Pro Tip: Coordinate exterior painting start dates with pressure washing and exterior cleaning crews so façades are fully dry before primer goes on; guidance on timing pressure washing before painting is a useful reference for that handoff.
Coordination with drywall, millwork, HVAC, and glazing trades matters as much as the paint itself; our New Build Painting Schedule breaks down a fuller builder-facing timeline for slotting painting into a multi-trade schedule.
Safety, hazardous-chemical controls, and spray-painting precautions
Every can of primer, paint, or solvent on site has a Safety Data Sheet, and that SDS should be reviewed before the product is opened, not after an incident. CCOHS guidance on hazardous chemicals recommends working through the hierarchy of controls: eliminate the hazard where possible, substitute a lower-VOC or lower-toxicity product, add engineering controls like ventilation, and use administrative controls and PPE as the last line of defense.
For spray work specifically, CCOHS spray-painting guidance calls for a documented risk assessment, WHMIS training for anyone handling the materials, and local exhaust ventilation or a spray booth where volumes warrant it. Site controls should cover:
- Local exhaust ventilation or booth setup for interior spray work.
- A respirator program triggered when ventilation alone cannot control exposure.
- Flammables storage away from ignition sources, with proper labeling and housekeeping.
- PPE checklist signed by each crew member, with training documented in the site file.
On renovation or repaint work involving older buildings, lead-awareness protocols apply before any sanding or scraping begins.
Quality control and inspection sign-offs: the on-site painting QA checklist
A new-build paint job should pass through three documented gates, not just a single walkthrough at the end.
- Pre-prime gate: finish level verified against spec, repairs complete, surface cleaned, moisture readings accepted, primer product confirmed against the GA-232 requirement.
- Between-coats gate: adhesion spot check, sheen and color uniformity across the surface, a touch-up plan for any flagged areas, and dry film thickness or wet film thickness records where the spec calls for them.
- Final acceptance gate: walk the unit under the lighting it will actually be used under, record any flashing, lap marks, or roller stipple, photograph the finished surfaces, and collect a written sign-off tied to the workmanship warranty.
A formal three-gate sign-off process with photographic records is a simple contract tool that prevents a large share of new-construction paint disputes, since it gives both sides a dated reference point instead of a memory of what the wall looked like weeks earlier.
A practical completion defects checklist built for owners and contractors offers a useful cross-check for what counts as an acceptable finish versus a defect at handover.
Sample timeline and handover: a quick schedule for a typical new-build unit
A standard unit moves through painting in roughly this order, with exact durations depending on unit size and finish level:
- Finish-level sign-off and repair completion: typically 1 to 2 days before priming starts.
- Primer application and cure: product-dependent, often same-day to overnight before recoat.
- Finish coats, usually two: spaced according to the manufacturer’s recoat window.
- Final lighting walkthrough and touchups: scheduled once HVAC and fixtures are live.
Each gate needs a named sign-off, whether that’s the general contractor, site super, or a QA lead, and the documentation (moisture readings, primer product, photos) should sit in the project file. Compressed schedules are workable but should add extra QA checkpoints, since skipping cure time to hit a closing date is the most common cause of the callbacks that show up a few months later.
Practical lessons from the field on new construction sites
The three failure causes we see most often: priming skipped or substituted with the wrong product, finish coats applied over damp substrate, and sheen mismatches discovered only after move-in lighting is on. All three are preventable with the gates above.
Advice to foremen is to require a signature at each gate, not a verbal okay, and hold the final coat until it can be checked under the lighting fixtures that will actually be installed. Attach this checklist to the painting contract or use it as a standing inspection sheet.
— Enrico
Sigma Painting: new-construction painting services and how we help
We handle new-construction and multi-unit painting across the finish stages this checklist covers, including Level 5 coordination, documented QA at each gate, and warranty paperwork handed over at closing.

- We confirm finish level and priming requirements before any crew starts.
- We document moisture readings, primer selection, and sign-offs for the project file.
- We provide a written workmanship warranty on completed work.
Our services overview covers the full scope for builders and developers, and our instant quote calculator gives procurement contacts a fast path to a fixed estimate.
FAQ
What is the correct drywall finish level before painting?
GA-214 defines five levels, and the level has to match the lighting and paint sheen planned for the space. Level 5 is specified for critical lighting or glossy finishes, while lower levels work for surfaces that will be covered or lit less critically.
Why does new gypsum board need a special primer?
New gypsum board absorbs paint unevenly without a dedicated primer, which causes flashing and blotchy sheen. GA-232 calls for at least one coat of high-quality drywall primer, and alkyd primers should be avoided as a first coat since they can react with joint compound and cause film failure.
How do you know if concrete or masonry is dry enough to paint?
A visual check alone is not reliable, since moisture can remain trapped in concrete or masonry after the surface appears dry. Spot checks with a moisture meter at several locations, combined with a documented drying period, give a more reliable acceptance point.
What safety steps are required for spray painting on site?
CCOHS guidance calls for a documented risk assessment, WHMIS training, adequate ventilation or a spray booth, and PPE matched to the products in use. Flammable materials need dedicated storage away from ignition sources.
How much does new construction painting cost?
Pricing depends on unit size, finish level, and scope, so we provide project-specific quotes rather than a flat rate. Our new construction cost guide outlines the main cost drivers, and our quote calculator gives a fast estimate.
Sources
- GA-232-04 (Gypsum Association)
- GA-214 guidance on levels of finish (Gypsum Association / National Gypsum summary)
- Moisture ingress in building envelope materials: (II) transport mechanisms and practical mitigation approaches (NRC)